
In order to send out a campaign message, you will need to create a group first. The group can be made up from any mobile registered user within the myGP Connect system.
In order to create a group, follow these steps:
- Log in to your myGP Connect system
- Click on Campaigns found on the left-hand side menu
- Click on Groups
- You will be directed to the Groups page
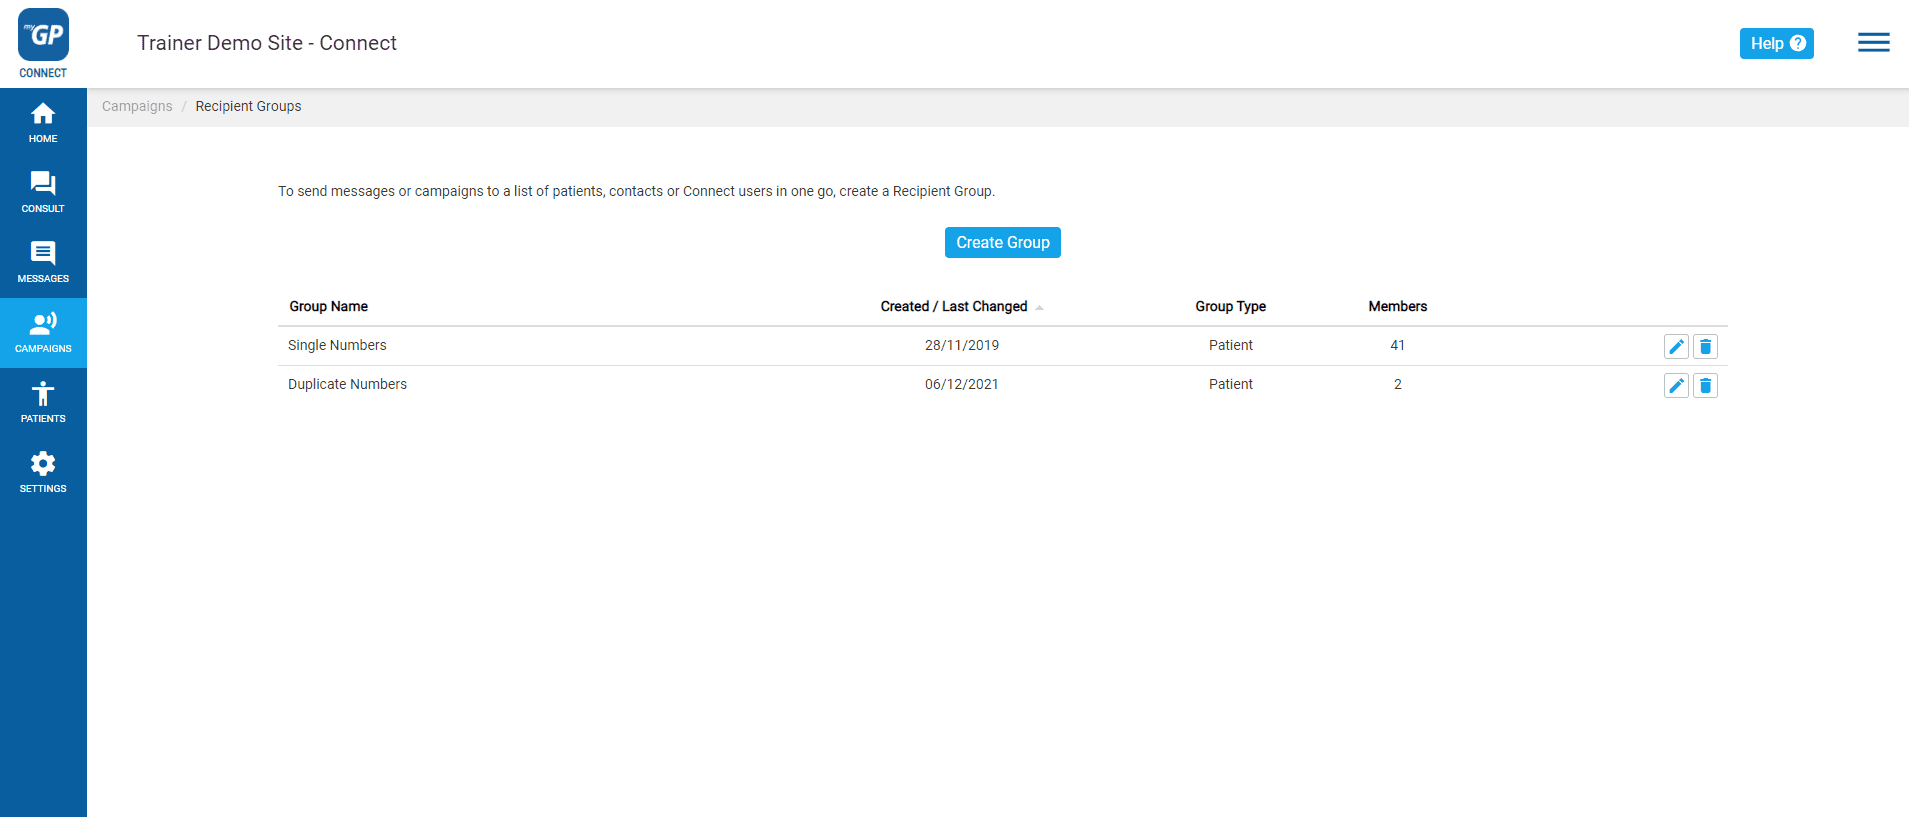
Here you can create a group from scratch. Please do the following:
- Click the Create Group button
- You see the Create Recipient Group pop-up box
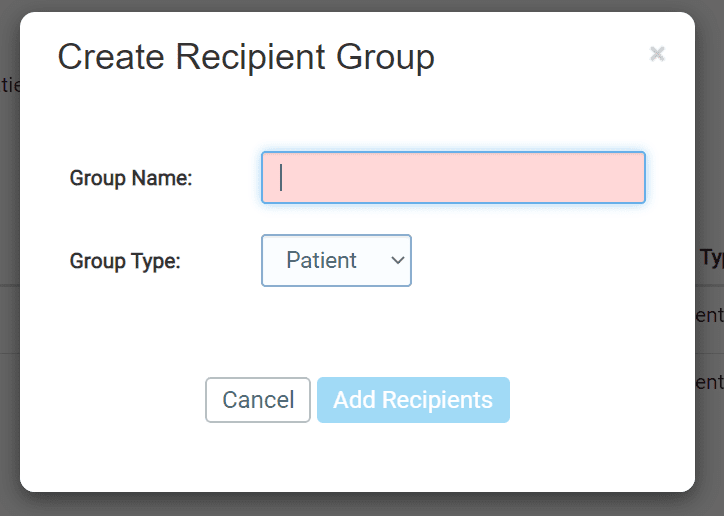
- Name your group in the Group Name field
- Choose from Group Type options
- Then click Add Recipients
- This will bring you to the Edit Group pop-up box
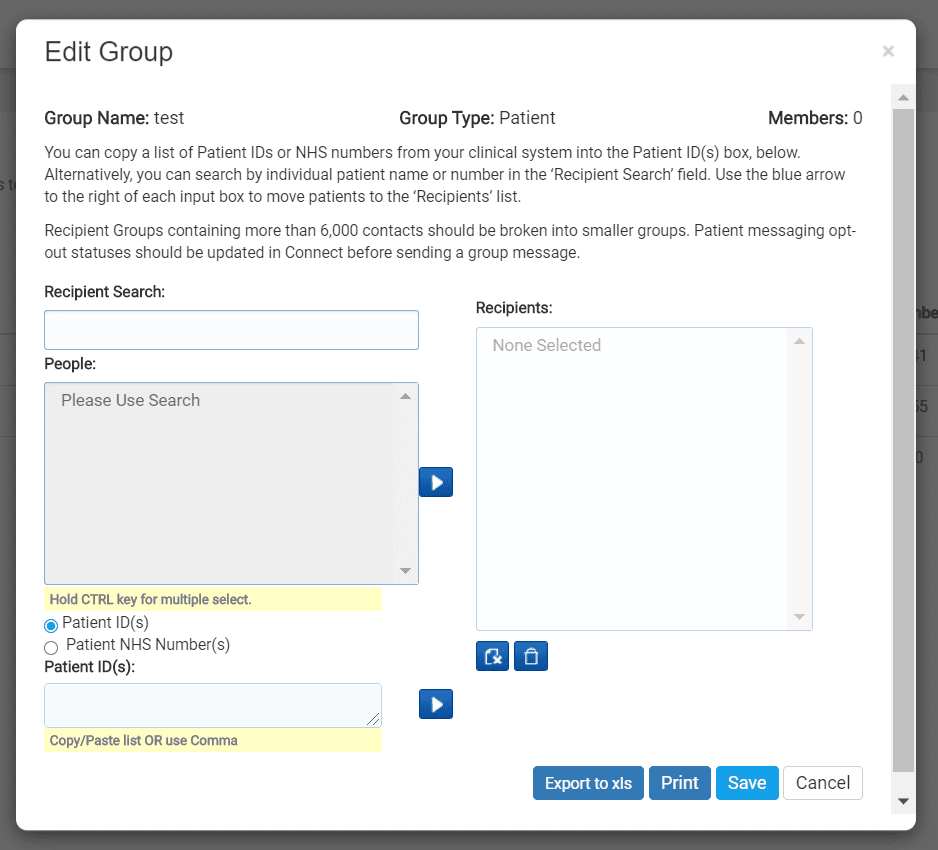
On this page we have the option to add the specific patients we want to message. To add patients, you can do it via these different methods:
Search patients by name
- Refer to the Recipient Search field in the top left of page
- Type patient’s NHS number, first name, or surname into the field
- You will see the name appear in the People box
- Highlight the patient name, then click the Move Selected arrow
- Your patient will appear in the Recipient box to the right
- Click Save
Add patients via Patient ID (recommended for Emis/Vision users)
- Copy your patient’s ID numbers from your clinical system
- Paste the Patient ID numbers into the Patient ID box on the lower left
- Click the Move Selected arrow to the lower right
- Your patient will appear in the Recipient box to the right
- Click Save
Add patients via patient NHS number (recommended for TPP/SystmOne users)
- Select the Patient NHS Number option from the lower left box
- Copy your patient’s NHS numbers from your clinical system
- Paste the NHS numbers into the NHS Number box on the lower left
- Click the Move Selected arrow to the lower right
- Your patient will appear in the Recipient box to the right
- Click Save
This will save your Group as an entry on the main page.
